博主辛苦了,我要打赏银两给博主,犒劳犒劳站长。

【摘要】上一篇文章讲了 logstash 自动同步单张数据表到 es 中,本文将同步至多张表,多张表的基本步骤是和单张表是一样的,区别在于配置文件的配置不同。
接下来我们给出同步两张表的小例子,数据准备还是参考上一篇文章中的数据:
/438.htmllogstash.conf 配置文件:
input { stdin {}
# jdbc-1.sql 的 jdbc 配置
jdbc {jdbc_connection_string => "jdbc:mysql://127.0.0.1:3306/jy?useUnicode=true&characterEncoding=utf-8&useSSL=false"
jdbc_user => "root"
jdbc_password => "root"
jdbc_driver_library => "bin/mysql-connector-java-5.1.7-bin.jar"
jdbc_driver_class => "com.mysql.jdbc.Driver"
jdbc_paging_enabled => "true"
jdbc_page_size => "50000"
jdbc_default_timezone =>"Asia/Shanghai"
statement => "select * from student"
# 也可以在对应的文件中写 sql
# statement_filepath => "jdbc.sql"
schedule => "* * * * *"
lowercase_column_names => false
# type 用来区分不同的同步任务
type => "jdbc_student"
}
# jdbc-2.sql 的 jdbc 配置
jdbc {jdbc_connection_string => "jdbc:mysql://127.0.0.1:3306/jy?useUnicode=true&characterEncoding=utf-8&useSSL=false"
jdbc_user => "root"
jdbc_password => "root"
jdbc_driver_library => "bin/mysql-connector-java-5.1.7-bin.jar"
jdbc_driver_class => "com.mysql.jdbc.Driver"
jdbc_paging_enabled => "true"
jdbc_page_size => "50000"
jdbc_default_timezone =>"Asia/Shanghai"
statement => "select * from class"
schedule => "* * * * *"
lowercase_column_names => false
type => "jdbc_class"
}
}
output {# 上面 type = "jdbc_student" 对应的同步任务
if[type] == "jdbc_student"{ elasticsearch {hosts => ["localhost:9200"]
# 索引名称
index => "index_student"
document_id => "%{id}"document_type => "test"
}
}
if[type] == "jdbc_class"{ elasticsearch {hosts => ["localhost:9200"]
index => "index_class"
document_id => "%{id}"document_type => "test"
}
}
stdout {codec => json_lines
}
}
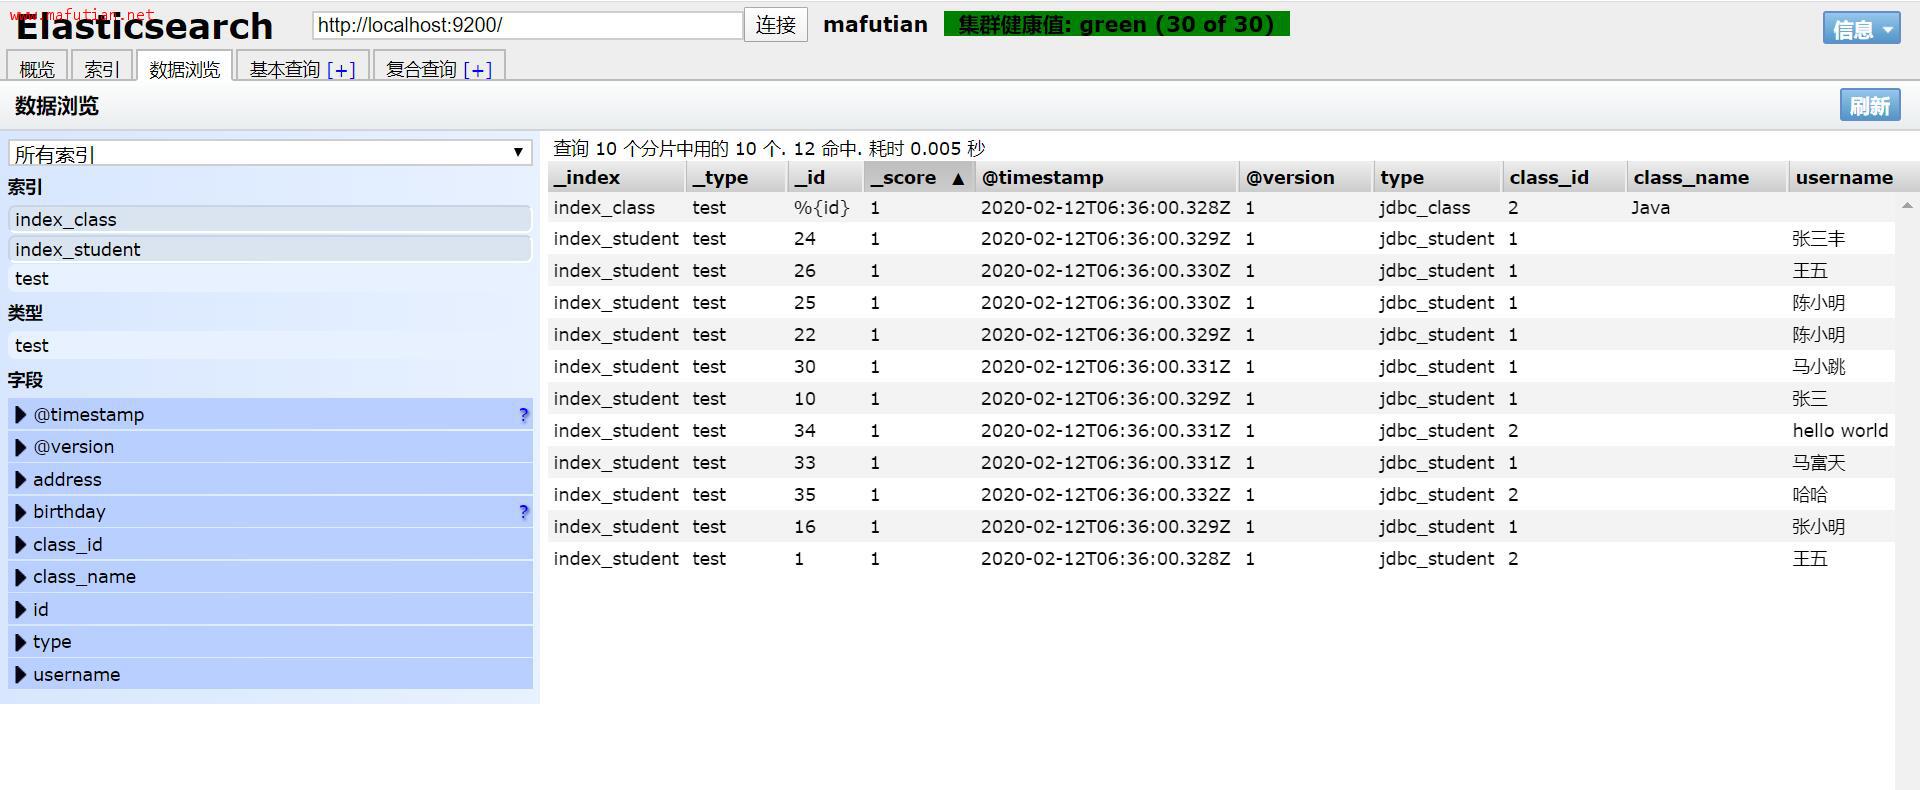
如图所示,已经同步成功啦!
版权归 马富天个人博客 所有
本文标题:《logstash 同步 mysql 多张表到 es》
本文链接地址:http://www.mafutian.com/439.html
转载请务必注明出处,小生将不胜感激,谢谢! 喜欢本文或觉得本文对您有帮助,请分享给您的朋友 ^_^
顶0
踩0
| 评论审核未开启 |


|
||
|
|